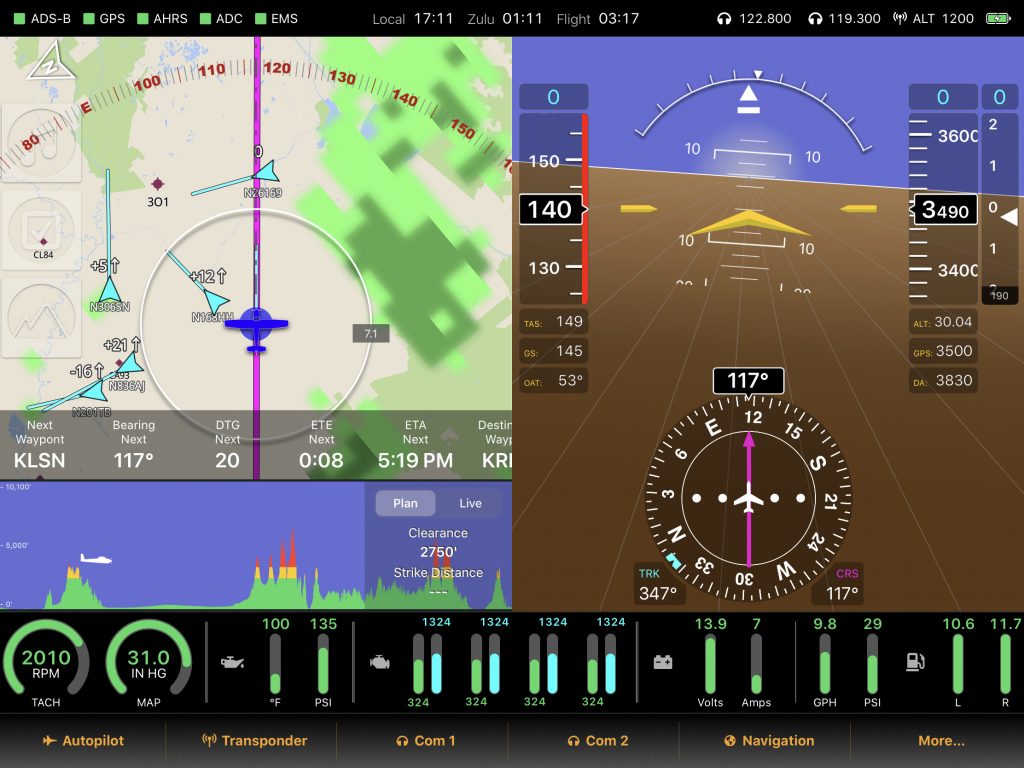
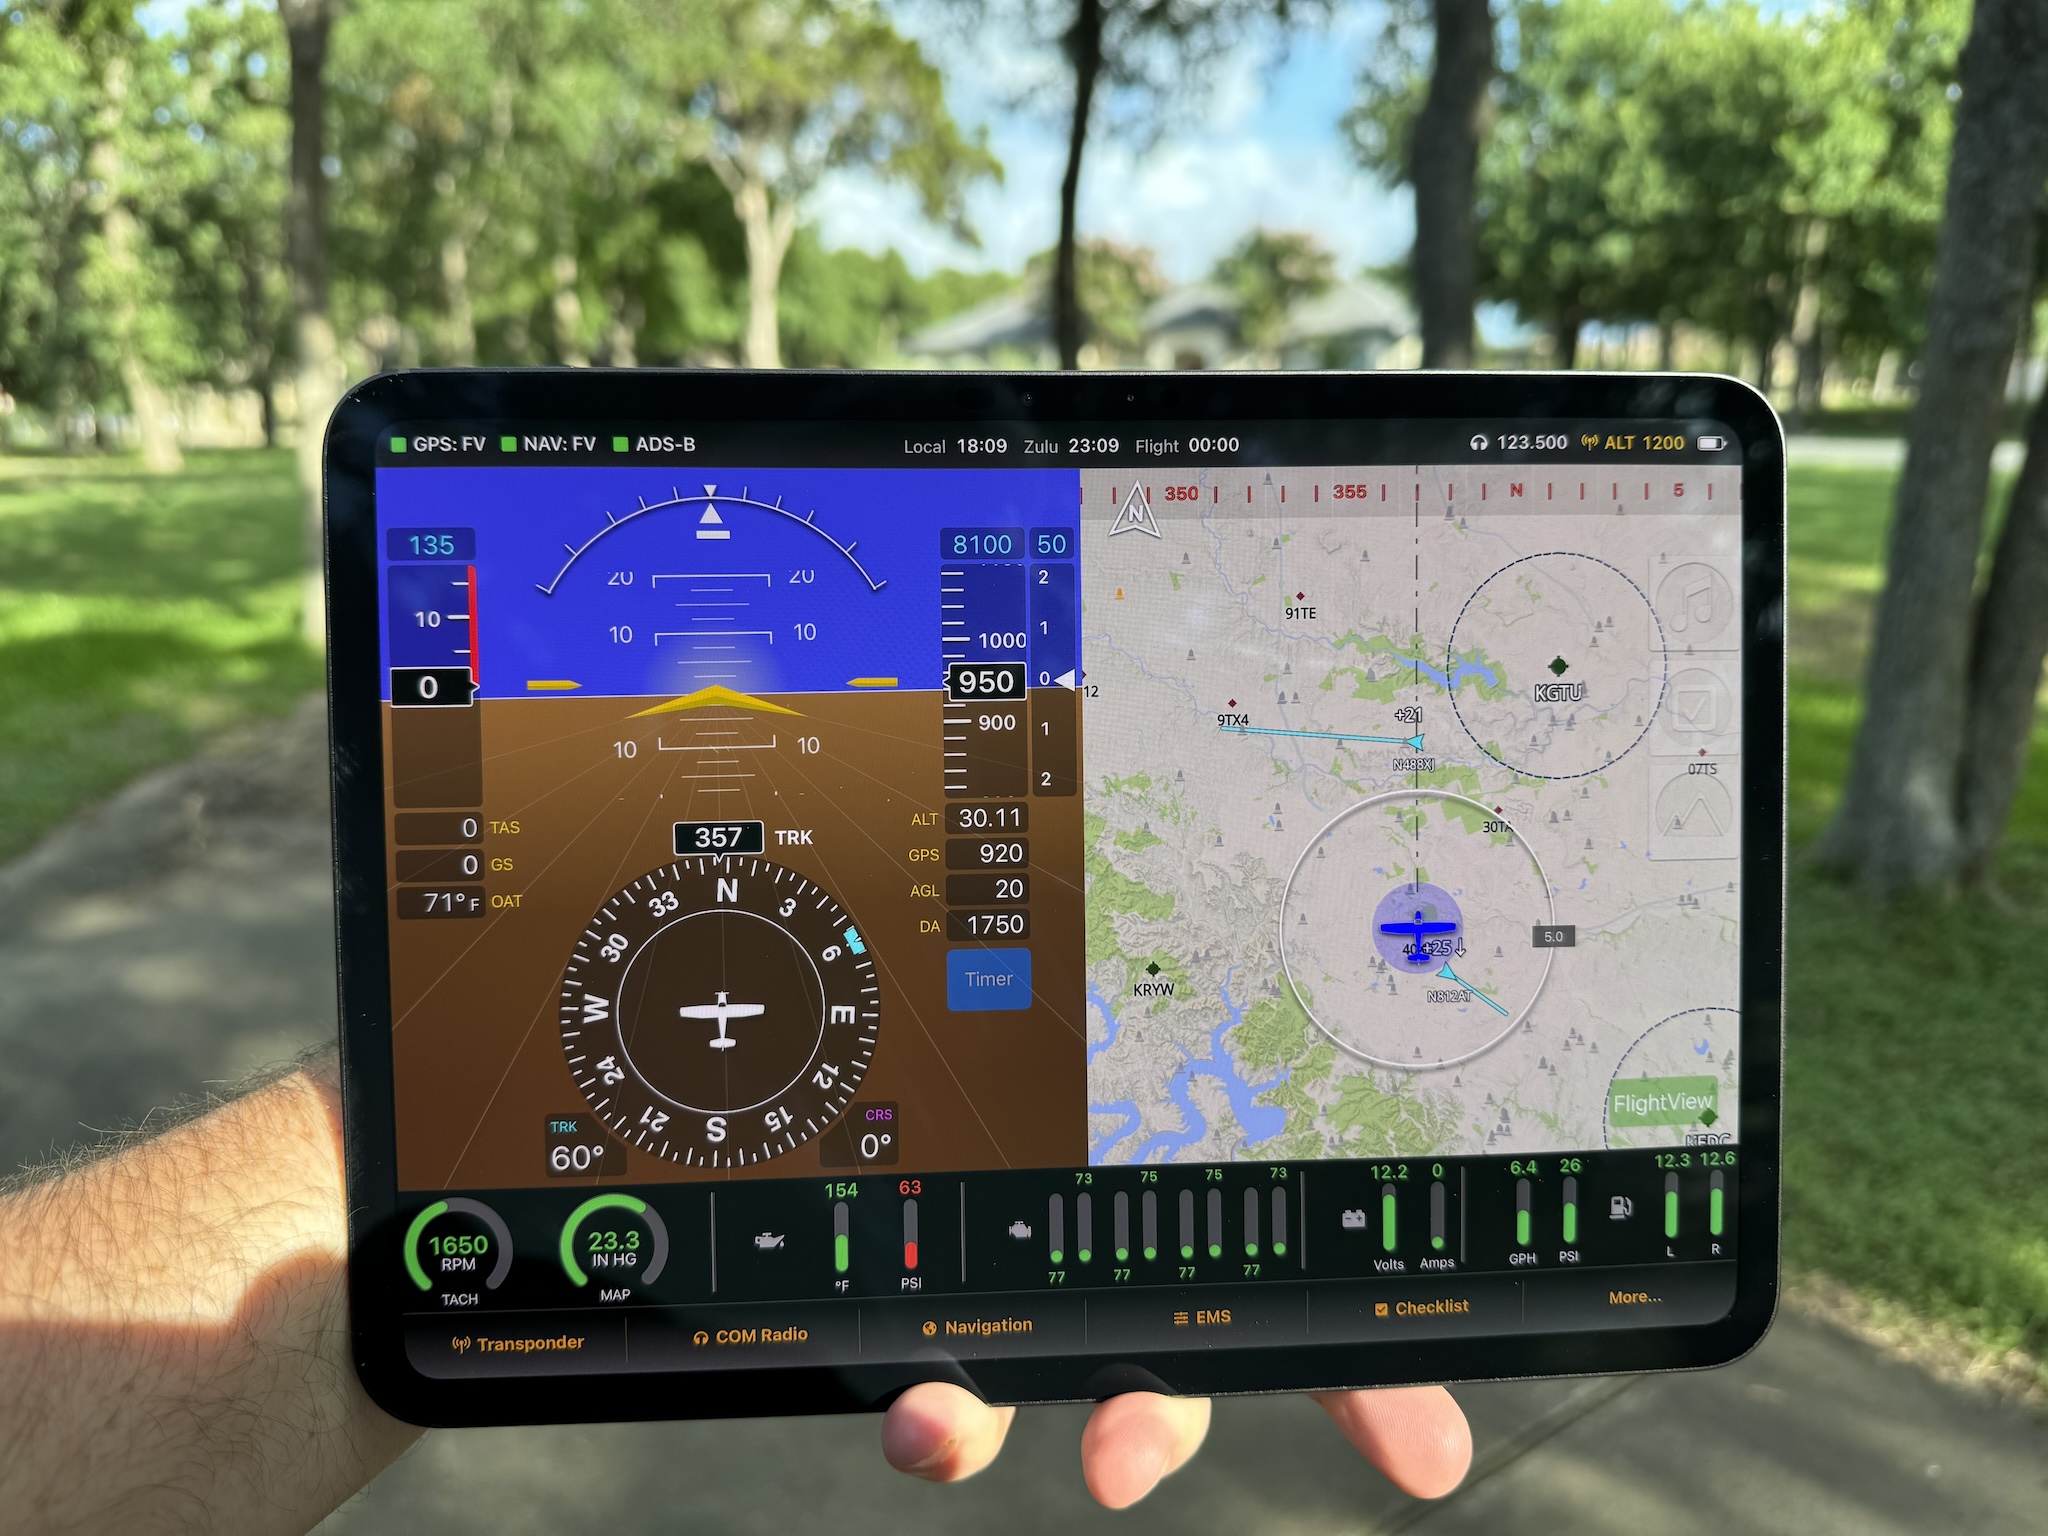
We’re getting close to a 1.0 release of the FlightView app. I just pushed the latest beta version to Apple’s TestFlight. It should be approved and available to all beta testers in the next 24 – 48 hours. I’ve had several users ask for a way to see FlightView in action without actually having to install all the hardware. Understandable. Fortunately, using off-the-shelf gear makes that pretty easy.
You can now download an image file that works with any Raspberry Pi 3B or 3B+. Unzip the file and write it to a micro SD card, pop it into the Pi and power it up.

The demo flies a continuous circuit around California through heavy air traffic (300 random simulated targets), through a rain storm, and over some challenging terrain. The emulator sends a constant stream of data for all the key subsystems including the engine monitor, radios, and transponder. To get the full effect you’ll want to install the base map for California and the “US North-West” and “US South-West” terrain images in FlightView. (NOTE: Because of a change in the way we’re handling file access, you will need to install Beta version 0.3 before you can install the terrain files. Apologies for any inconvenience that may cause.)
Here’s the instructions in somewhat greater detail:
- Download the emulator image file.
- Unzip the image.
- Write the image file (flightbox_demo_2.0r4.img, NOT the zip file) to an 8GB or larger micro-SD card.
- Insert the card in a Raspberry Pi 3B or 3B+.
- Power up the Raspberry Pi.
- Connect to the “FlightBox-xxxxx” wifi network it creates.
- Launch the FlightView app.
If you don’t have a copy of FlightView yet, you can install it from TestFlight. To do so:
- Install the TestFlight app on your iPad from the Apple App Store.
- Click this link to join the FlightView beta and install the app.
